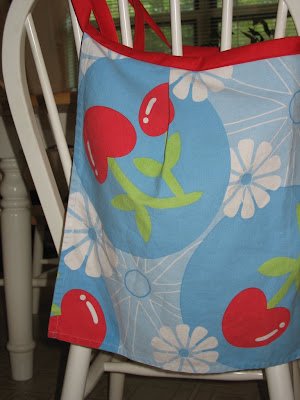
I have a confession... I have become hooked on aprons! (It's almost as bad as my sock addiction!) I have several hanging in my broom closet, some new and some vintage. I will probably share them in a future show and tell, but for now let me share this one:
I made it from the cutest little dish towel! It actually came in a package with a matching potholder. I like terry towels personally for the kitchen, but I have a hard time passing up cherries. I decided to make an apron out of it and have really enjoyed it.
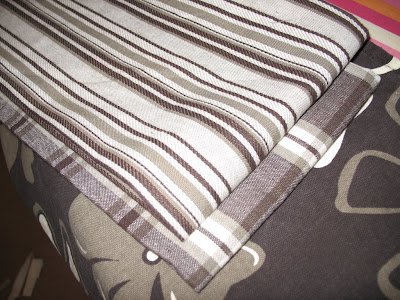
Regina's birthday was a couple of weeks ago and I decided to make her one. I have found really cute towels at Tuesday Morning. They have a great selection of these towels. I got this set of three:
I like the floral one. When you are looking for towels to make this apron with, look for ones with patterns that can go either direction and aren't decorated only on one end, or else the pattern will end up looking sideways!
The supplies you will need for your apron are as follows:
- 1 (non-directional) linen type dishtowel, prewashed and ironed
- 1 package of matching large 7/8" double fold bias tape
- thread to match the bias tape or use a contrasting thread
- sewing machine :)
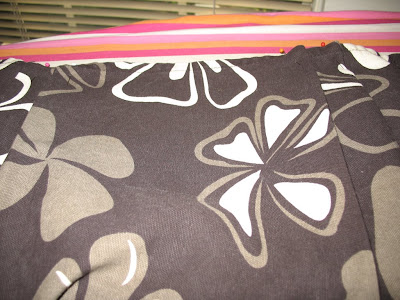
I first made pleats evenly spaced on either side of the apron.
(My apron has one pleat on each side, I like the two per side much better.)
Here is a video showing how I made them:
Cut tape to the desired length (I used about 80 inches.) and attach, be sure it is centered! (Here is
the method I used to attach it. You might want to look around while you are there,
Amy has some really cute sewing ideas as well as a
apron group.)
I attached it just a little below the top, so that it would be completely on top of the towel without empty tape at the top.
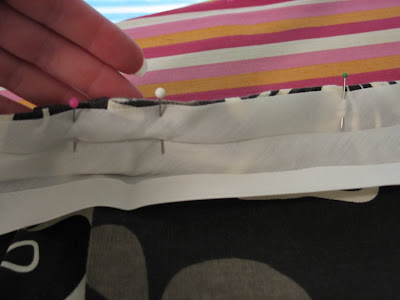
Sew first on the inside of the tape at the crease:
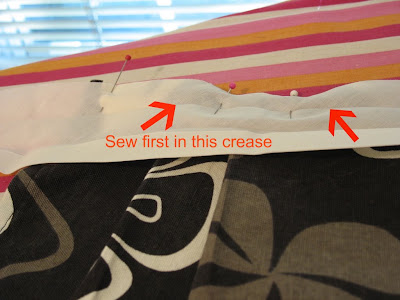
**at this point I am switching to my apron, I finished the brown one really late and forgot to take pictures***
then fold the tape over and sew again from the front starting at the end of the tie. When you reach the apron, the machine will catch the wider strip at the back. Take extra care at the pleats to be sure that the back is folded over enough and catching.
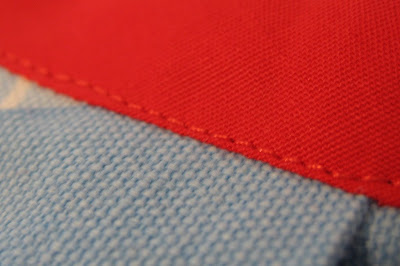
Like I said: Watch the Pleat! I missed a little here:
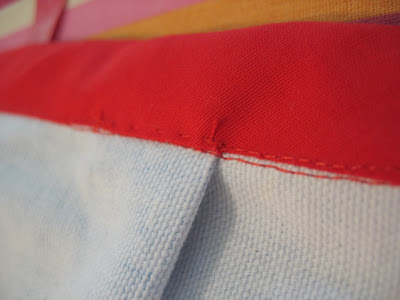
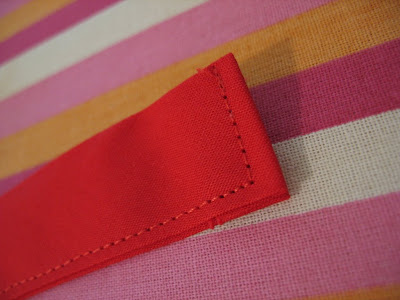
Tip: Tuck the ends in before you sew and sew down then across.
Here is the finished brown apron modeled by the recipient, Regina:
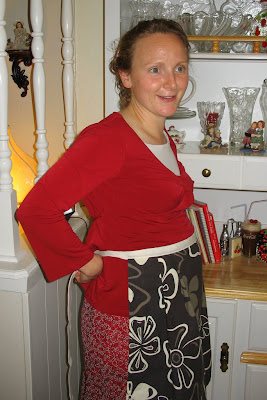
And yes that is a little pooch in front!! I have another little (adopted) niece or nephew coming in November! (She is actually exaggerating for the picture, she never gets very large even with almost a ten pounder last time - Faithie.)
Well, I hope you have enjoyed my little tutorial! I had a lot of fun making this and I am looking forward to making more. I would love to see your version, if you make one!
Blessings!

ETA: Thanks for stopping by, a big welcome to those of you from Tip Junkie! To see another apron I made recently
click here. Feel free to look around! :)